|
scenery weathering
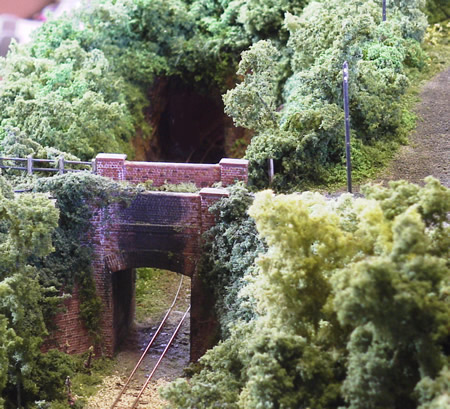
The bridge at County Gate. Stalagmites under the bridge were made by
teasing out half dried epoxy glue.
Steam railways, even with the best will in
the world, were always very dirty affairs. Paint used prior to World War
Two was also pretty poor, fading quite quickly and losing gloss. Anti rust
coatings for steel were either galvanising or red lead. Most outdoor steel
began to rust within a few months particularly if near the coast.
The first rule is to only use matt paint.
Gloss does not show from normal scale viewing distance. The second rule is
never to use matt black or brilliant white. Always tone them down. Use
thin washes to weather or use an air brush. An excellent selection of
sprays is available from
Model Mates.
I tend to weather much more than is normal in
the UK and Germany, having learned my skills in the USA. Mostly, I use weathering
powder but I also will paint with a varied palette using layers of thin
washes. I have a horror of
shiny finishes, a problem solved with weathering!

This photo shows the colour variation that
can be found on paving. The area to the left is little used and is more
shaded from the sun. Grass gets everywhere particularly before the days of
residual herbicides.
It is always important to know where due
North is on a model railway. North sides of buildings will always have
different colourings than South sides. There will be more green algae on
tiles, bricks etc. Lime mortar steaks a lot more than cement, so
streaking, (that is the painting kind), is important.
The weathering is not just confined to structures. Most cars will not look
like they just came out of the showroom. There will be mud splashes and
rust...(on many British cars of the period, it was only the mud that held
them together). Many vehicles of the period lost as much oil through oil
leaks as through the exhaust pipe. Road surfaces would show this.
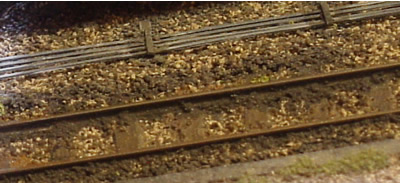
Weathering of the track is a slow operation
but important. There will always be areas of new ballast, but elsewhere,
steam and lubricating oil will find itself on the ballast in long streaks.
This is particularly true where locos regularly stop. Here there will also
be ash from fire cleaning.
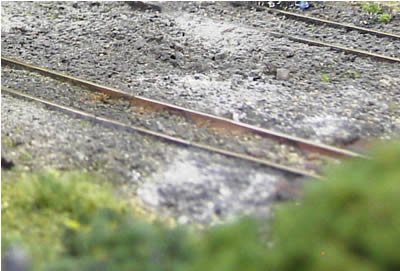
ash on the track outside the sheds
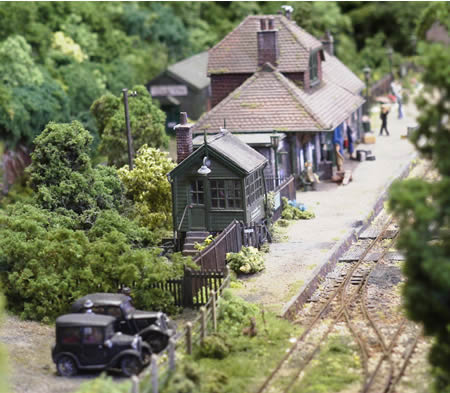
looking down the platform
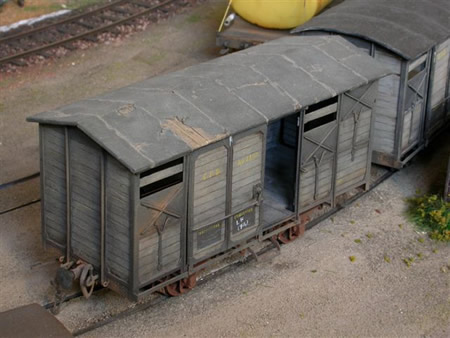
The weathering of locomotives and rolling
stock can produce very emotional viewpoints. We are modelling a railway
a bit down on its heels, due to staff cutbacks and economies. Rolling stock on
the L&B did vary in colour, particularly freight stock, as paint was not
always mixed to the same code. In its last years, the railway was no
longer so spic and span.
In addition, pre-war paints faded much faster
than is normally the case now. Our coaches vary slightly in both colour
and cleanliness, representing the differing times that each unit had been
to the paint shop.
Our L&B locos are only slightly weathered,
but some of the harbour branch locos look very careworn.
It is difficult to equate detailed weathering
with scale. A closeup macro photo will not give the same impression as a
view of a loco on the layout. Everything is a compromise. The photos at
450,800 and 2000 pixels will show the difference.
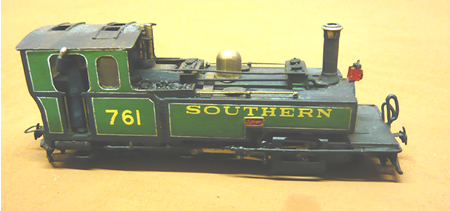
a slightly weathered
Backwoods 'Taw' - click on image for larger resolution
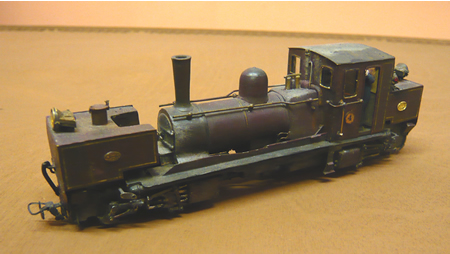
heavily weathered Garratt
- Click on image
for larger resolution
French perfection of
Christian Mayère
I often use very dilute colours sprayed with
an airbrush. This is just part of the process though. Dry brushing certain
areas adds another dimension and weathering powders will finish it off.
Sometimes to simulate faded and thin paint, I paint the top coat and then
remove much of it with a glass fibre brush.
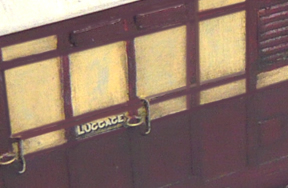
panelling on the Glenthorne railcar
If you wish to show paint chips with rust
below, this is an excellent technique. It is not suitable for models, such
as rolling stock which are to be handled much, however.
Paint the model in various shades of rust.
Once dry, give the model two coats of regular hairspray. Once dry, spray
the model in the desired topcoat. Once dry, you can rub off the topcoat
where desired. It will come off in small chips. Finish off with weathering
powder.
Most eroded timber can be modelled by
distressing with a wire bush. A suede brush is excellent for this. I
sometimes use a wire brush in a Dremel tool.
For really eroded timber, one can use the
laboratory enzymes cellulase and lignase. These eat through timber, soft
parts first and can produce stunning results.

|