|
model railway track detailing
Woody Bay in 009 by Bob
Barnard
Only too often, good models are spoiled by
poor track detailing. If you are modelling a track layout that was
operated from a signal box, you will need to fit dummy point rodding and
signal cables. All the bits are available from Model Signal Engineering.
Those who model modern image will need to be installing maybe, point
motors, concrete cable channels and lineside boxes. Some of these may have
to be fitted prior to ballasting.
The track can now be painted in 'mucky track
colour' I mix this up from Tamiya acrylic paint and whack it on with an
air brush. I wipe the paint off the rail heads with paper towels before it
dries.
If this baseboard has station platforms or
loading bays or anything else close up to the track, now is the time to
fit it. For heaven's sake make sure that your rolling stock does not foul
anything.
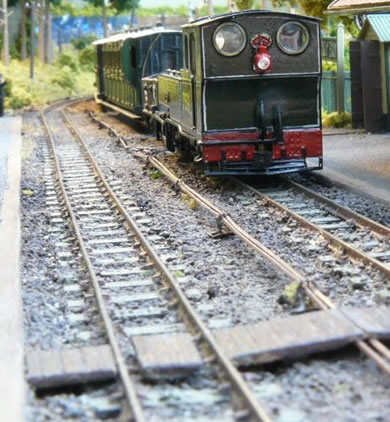
Like it or loath it, ballasting your track
will transform the look of your layout in a heartbeat. The stuff comes in
all sorts of colours and hopefully, you will have a fair idea of what is
right on your railway. Some railways were to say the least, somewhat
devoid of the commodity such as the Tal-y-llyn railway before
preservation. Some lines were ballasted using ash, others had tracks
almost buried in sand while others were quite overgrown.
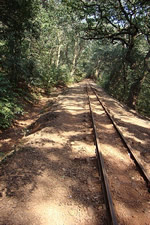
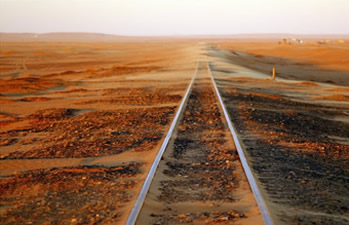
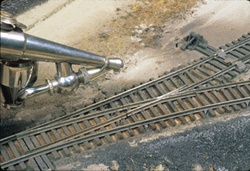
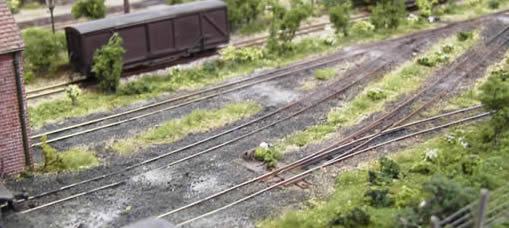
Some ballast which claims to be for a certain
scale can be well oversize. Take care not to make this mistake. You can
use very fine sifted sand if this is nearer to prototype or even sifted
coal ash or ground coal! Do not forget that sections of track may be
recently re-ballasted so the colour and cleanliness will vary. The ballast
directly under and shouldering the track may well be of a newer and higher
quality than the surrounds, such as is shown in the photo below.
Having chosen your ballasts, you can start to
sprinkle it on the track. Very carefully with a small soft brush, remove
grains from the tops of sleepers (unless you wish them to be covered) and
take care that ballast is not interfering with your point blades. Once you
are satisfied, lightly spray the track with an atomiser using water with a
dash of washing up liquid. The will pre-wet the ballast and make life a
lot easier. You can now introduce the glue. This should be PVA diluted 50%
and again mixed with a few drops of washing up liquid. This is carefully
dropped onto the track using a large dropper or squeezey. The glue will
migrate and bind the whole lot together. If anything gets slightly
misplaced when adding glue, you can move it back into place with a damp
brush or finger. You must now walk away from the whole affair for 24
hours.
Next day, you can carefully remove any errant
grains with a dental pick and check that the point blades still work
freely. (at times you will have to really work to clear them) During the
steam era, ballast quickly became tainted with oil and sometimes ash.
Engine sheds were famous for this. You can adjust the ballast colours with
paint washes.
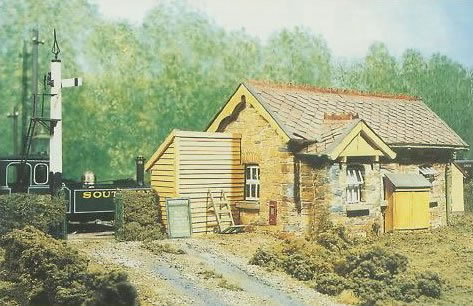
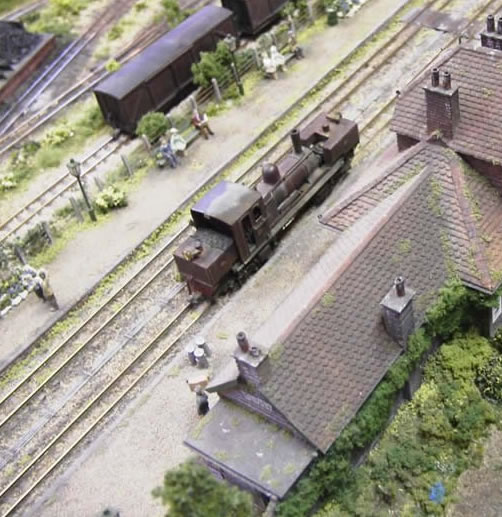
the engine shed yard at
County Gate
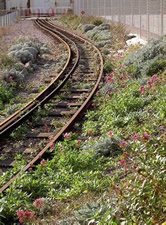
You can now add vegetation where appropriate,
in such places as alongside the platform and even on the track itself
provided that it will remain clear of wheels and gears.
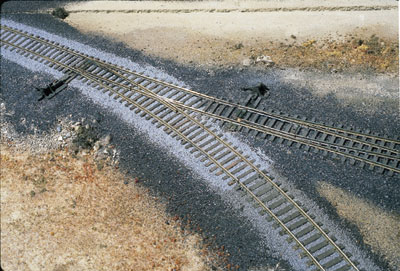
You can now add point rodding, signal cables
and all the associated cranks and pulleys, dummy point levers, crossings
and any other appropriate detail you require Make sure that such parts are
correctly painted.
With any luck, you are now beginning to have
track that looks rather good. All you have to do now is to clean off the
rail tops with a track rubber and scrape the paint off the inside of the
rail heads with a scalpel. This is important as this area plays a big role
in current collection.
Now check that all your point motors work and
test the track with trains all over again. Almost certainly you will have
to pick out bits of ballast which foul wheel flanges causing stock to
jump. With some time and trouble you will now have realistic and good
running track.
If only one or two vehicles
derail, it is almost certainly due to the back to back settings of the
wheels being incorrect. Mess with track as a last resort and at your
peril.

|