|
model railway engineering structures
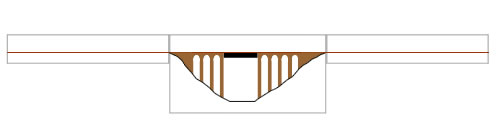
It is essential to design and even build your
engineering structures prior to building your baseboard. If, for example,
you wish to incorporate a high viaduct, you may very well have to deepen
the baseboard to allow this to happen.
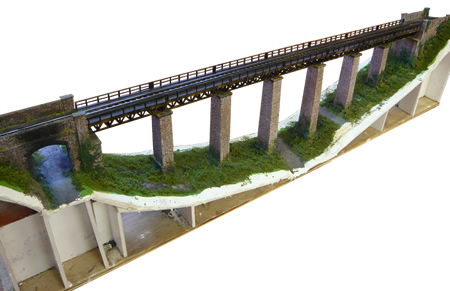
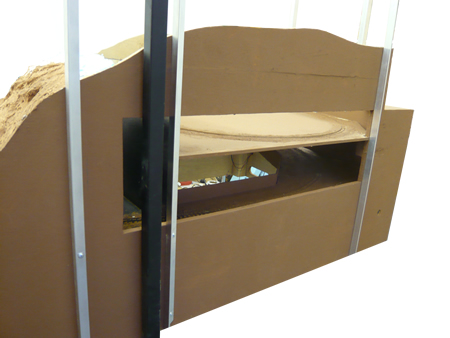
I always build these structures on a sub-base
that can later be properly attached to the baseboard. The structure is
fully detailed, painted and the track laid. I also complete the scenics
around the structure as it is a lot easier to do on the workbench. Notice
in the photo below that I have left a lip along the edge which I can later
pick up to extend the scenics.
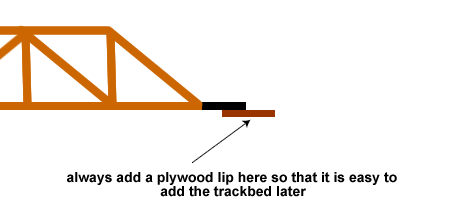
I also add thin plywood lips to the end of
the trackbed which will be used later for accurately attaching the
adjacent trackbed.
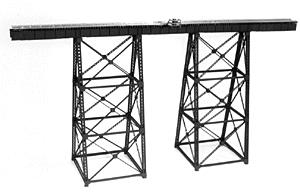
Most steel bridges are quite challenging to
scratch build but many commercial products are available, some ready built
and others in kit form. Some beautiful etched products are available from
the USA such as those shown below. They can usually be 'bashed' to achieve
what you require.
 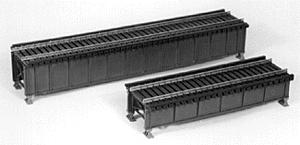
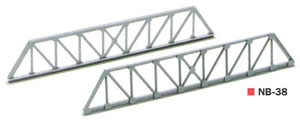
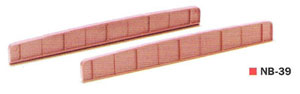
The British market can also help. Peco, for
instance supply truss bridges and plate girders in both 00 and N scale and
further selections are available through their Wills and Ratio product
lines. Some examples are shown below. Other sources can be found in our
resources
pages. How we built the East Lyn Viaduct can be found
here.
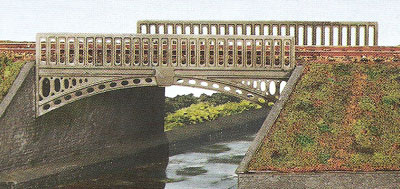
Wills model of the cast
iron Festiniog bridge

Wills OO Brick Arch Bridge is wonderful for 'kit bashing'
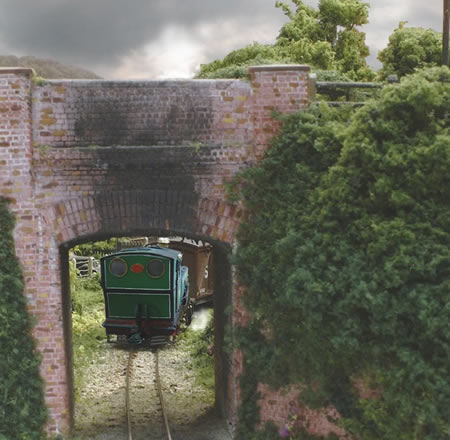
we used this cut down version for the bridge at County Gate. Note the
stalactites on the underside and the sooted brickwork

Wills viaduct
sections
Tunnels are often used on model railway to
'lose' trackwork off scene. Usually, only one side of the tunnel
interior is visible. This is fortunate as the unseen part can be
omitted, thus giving more access to the track. When designing tunnels,
please remember that it is essential to provide access for track
maintenance and rolling stock recovery. I miscalculated this at County
Gate at one section of the tunnel under the Glenthorne cliffs. Human
arms could just not reach one part! This resulted in some interesting
moments with a vet's endoscope which must have been in some quite
unpleasant places beforehand, followed by some scary moments with a
jigsaw!
I usually favour building up topography
with lightweight blue foam. This method is inappropriate if track is to
be hidden below as much better access is required. Here, shell
topography should be used, such as plaster bandage laid on chicken wire.
 hidden tracks inside
the tunnels with access holes for maintenance.
hidden tracks inside
the tunnels with access holes for maintenance.
Nothing looks worse that daylight coming
out of a tunnel. Make sure that light can be blanked off from the
interior. I often use lightweight black panels which attach with Velcro
to seal off access panels.
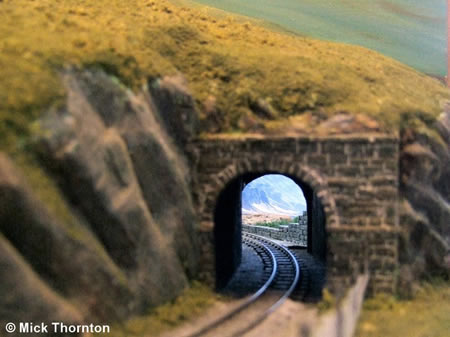
If you are to install a tunnel portal, you
do have quite some choice available. Make sure that the tunnel bore size
is appropriate for the rolling stock. Tunnels were rarely built larger
than necessary.
 A very clever way of disguising the exit of
track from the viewing side. Behind the backdrop is an additional small
section of scenery before the track runs into the hidden fiddle yard.
A very clever way of disguising the exit of
track from the viewing side. Behind the backdrop is an additional small
section of scenery before the track runs into the hidden fiddle yard.
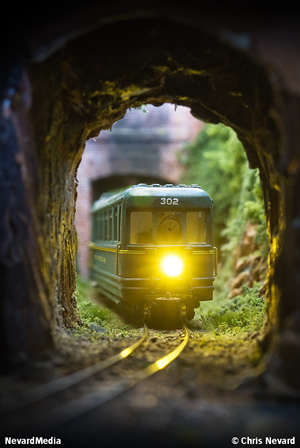
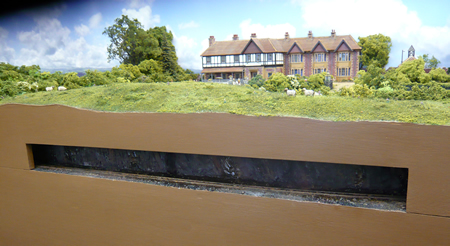
The edges of our layouts are effectively
sectioned right through the Earth's crust and somehow our eye accepts
this. If alongside the 'edge of the world' is a hidden track, then
one can display the inside of the tunnel; a most unusual view. We decided
to do this on our hotel model.
The trains become visible
to visitors in the unique environment of the inside of a tunnel.
Hopefully, most people have not entered into a working railway tunnel and
long may it remain so!
Once we had decided where the tunnel would be
sectioned, the first job was to fabricate the tunnel wall. This was done
in foam board covered with Polyfilla which was moulded and
subsequently carved into hewn rock. The plaster was painted in dilute
acrylics and then with weathering powder.
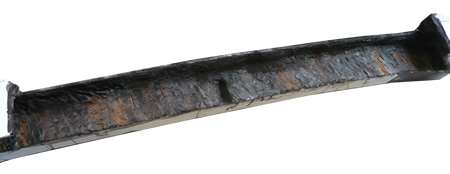
the new tunnel section ready for installation
Once the rock wall was fitted, the track was
ballasted and talus was scattered in places to represent rock falls.
Again, the track and ballast was painted and then clear epoxy resin was
used to paint on wet walls and pools of water in the ballast. Once cured,
I painted over the epoxy with glass varnish, which looks better at the
edge of puddles, being much thinner than epoxy.
the
completed sectioned tunnel
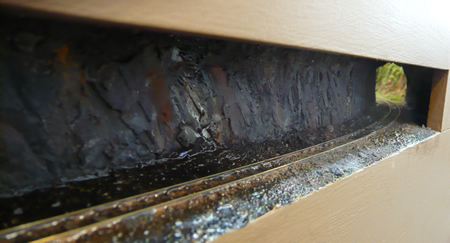
A
unique view of the tunnel mouth from the inside. The pools of water lying
in the tunnel can be clearly seen.

|