|
Building brass
etch Coaches
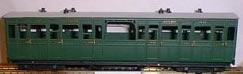
I am aware that many folks still baulk at
making etched brass models and doing soldering. Three types of coaches
are available from
Langley. I am
told there are no plans to expand the line. There are some errors in
these coaches, and they sit too high to be scale. This is due to the use
of scale length bogies which will not give sufficient movement for 12"
radii if place inside the frames. It is for this reason we are bringing
out our full range of coaches under the 3dPerfect banner.
I certainly do not claim to have all the
answers, but we find the following methods do work for us. Firstly, the
three kits do not all include seats and handles so it is necessary to
buy another pack from Langley. The pack can be found at the bottom of
the page we have linked to.
I know there are all sorts of fancy fluxes
and solders, but I just use ordinary thin multicore solder from the
local hardware shop and Baker's soldering fluid, bought from the local
plumbers. The flux is rather nasty and care must be taken not to get it
into your eyes. It also eats away the soldering iron tips quite quickly,
so I always have a stock of those! However, the flux really works well,
provided all traces are washed off at the end of the job. I use an Antex
XS25 soldering iron and favour wedge tips. These are obtained from
Expo Tools.
It takes a bit of practice, but actually
the process of soldering is quite easy. It is important to work from the
back of etchings where possible, as it is very hard to remove the solder
from detail. Make sure that the soldering iron has reached temperature,
tin the tip with solder, brush on some flux, collect a small blob of
solder on the iron and apply to the work. The flux will hiss in a
satisfying manner and then
suddenly the solder will flow and stick the parts together.
I use a hand held Dremel type took with a
small sanding disc to remove excess solder and polish up the finished
product with a small wire wheel attachment.
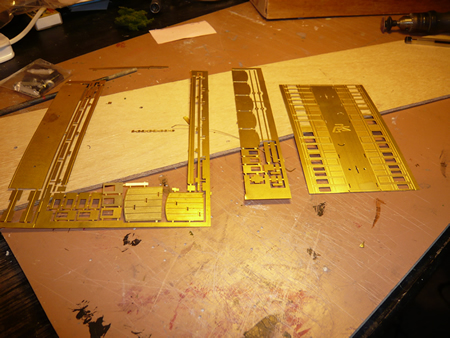
I use a good pair of scissors (better your
wife's) to cut components from the fret. The small sprues are removed by
sanding with the Dremel.
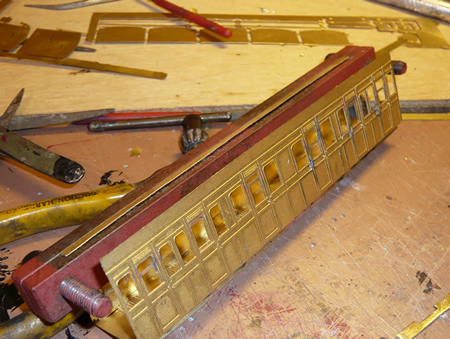
The door windows are removed from the fret
and soldered into position from the rear. I use modelling clamps to hold
them in place while soldering. The windows can be fixed in various
positions from fully open to closed. Remove excess solder with the
sander. The etch includes folding tabs at the ends of the coaches. I find these fold in
a way to prevent a clean solder, so I simply remove them. One of the
coach kits does not have the door handles and grab handles holes etched
right through. Make sure that you do drill them before
proceeding.
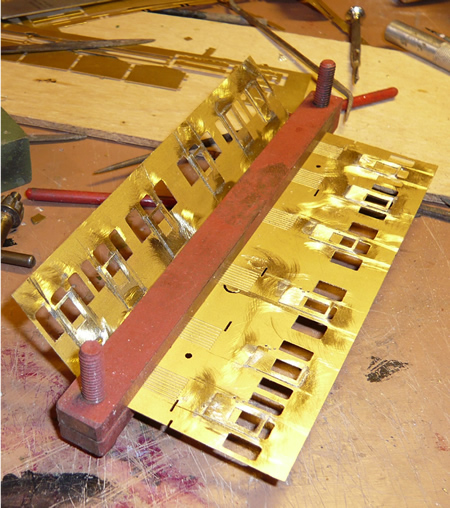
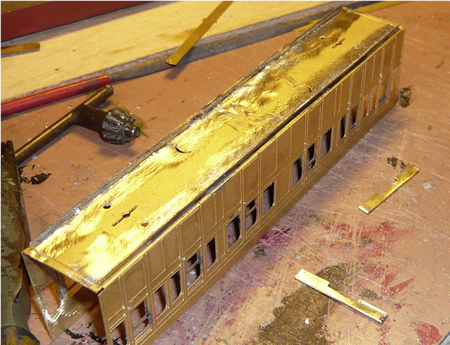
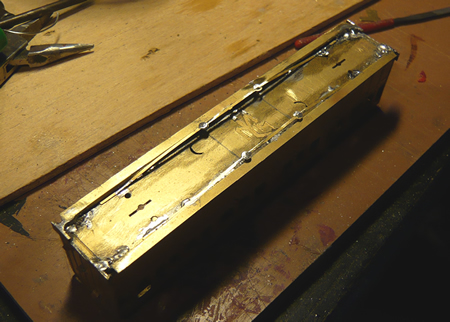
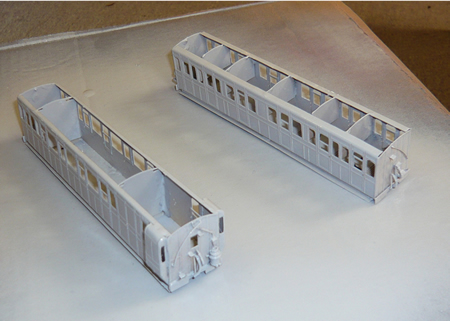
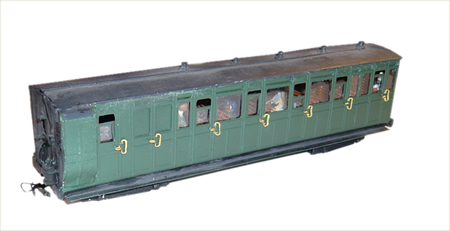
The sides are folded using a metal folder
such as shown in the photo.
Make sure that the folds are sharp and the
sides vertical.
Solder on the chassis strips.
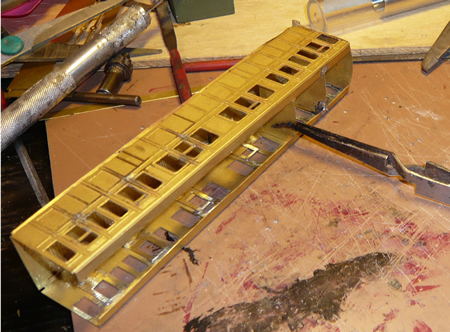
The top tabs are then folded down to
right angles.
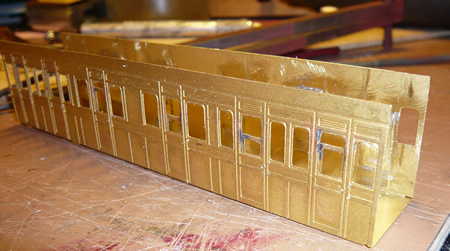
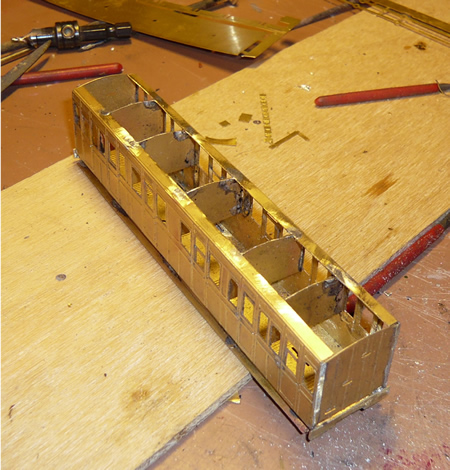
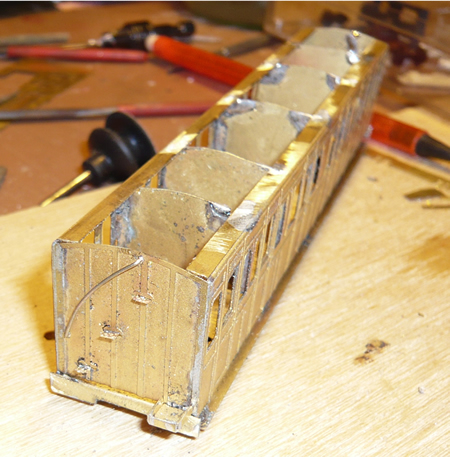
Now solder in the partitions, ensuring that
the model sits flat on a sheet of glass and that the sides are dead
straight, (check with a metal rule).
The coach ends can then be soldered in and
the buffer beams which are made by double folding the etches. The
footrail is also soldered on. This is a cow to fold, and I now just
place the etching accurately in a vice and press hard with a steel tool
and gradually get the thing to fold over.
The four small pins are then soldered to
the floor. Usually, you will have to drill in the correct position as
the etches do not include the holes. You can then solder on the bracing
bars.
Now solder on the end steps and the grab
rail which is made from the thin wire supplied.
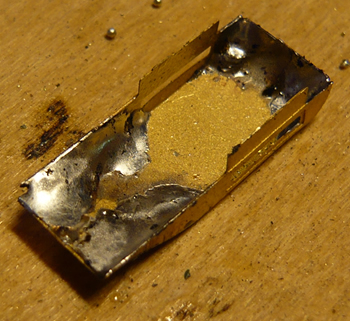
If you are building the brake coach, fold
up and solder the duckouts. It is worth taking the time to get these
right. Make sure they fit correctly and solder into place.
The other job is to solder up the etched
bench seats. These are a tad wide considering one also has to add glazing.
I therefore cut .5mm from each side with scissors.
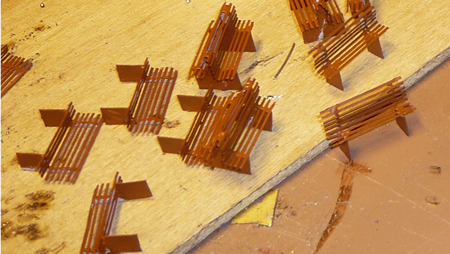
the seats after cleaning, priming and painting
The buffer beams are drilled for fitting
the vacuum and heating pipes. I make the steam heating connectors using
brass wire, wrapped with 3 amp fuse wire. The ends of the fuse wire are
soldered and the brass wire bent to shape. These and the white metal
vacuum pipes are soldered to the buffer beams. It is perfectly easy to
solder the white metal in this case. Just pre-tin the back of the buffer
beam, add flux, insert the vacuum pipe and touch with the soldering
iron. The coaches are now ready to clean. I use hot water, detergent and
the kitchen sink. Using a stiffish paint brush, all deposits, swarf and
dust can easily be removed. Leave to dry on paper towels.
Once dry, I glue on more details. These
include the acetylene generators, feed pipe, and I make the water
reservoir from a small piece of carved Plastistrut.
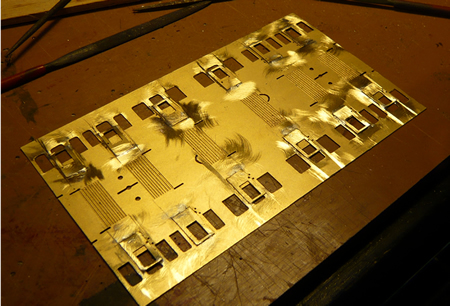
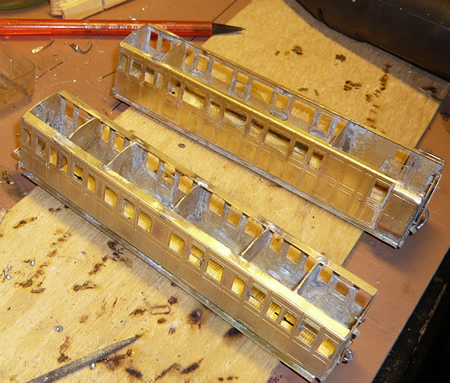
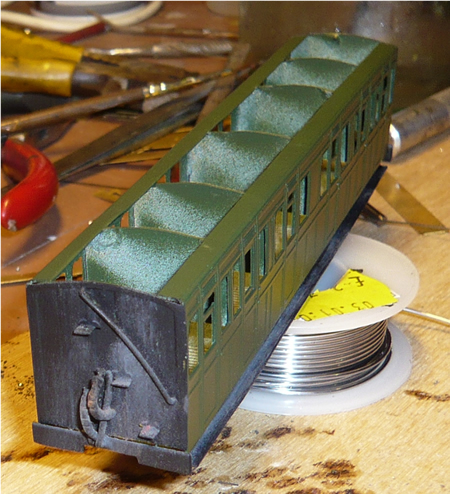
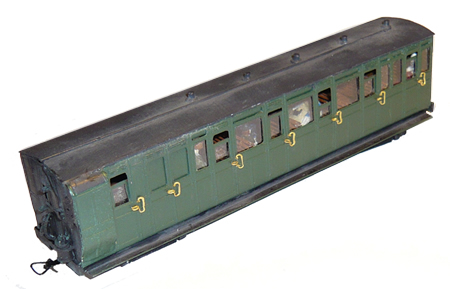
After a final check for fluff, cat hairs
etc, the coaches are now ready to spray paint. I use a self etching
primer spray can available from car part stores. Make sure that the coat
is a light one. Once dry, spray the colour coat. I use acrylic spray
paint called NATO green. Some coaches I have painted in slightly
different hues to give the stock a varied appearance due to age and
fading.
self etch primed
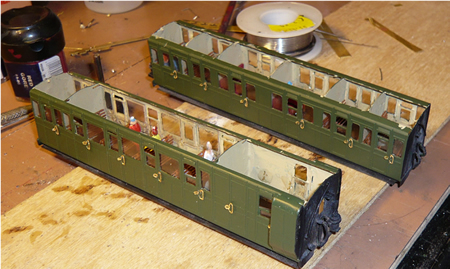
Once dry, I paint the chassis and ends with
Humbrol matt black. When nearly dry, I treat with weathering powder to
taste.
Once this is all dry, (next day), the
inside of the coach is carefully painted in the required colour. If any
of this paint gets onto the green around the windows, you can touch up
with the spray paint. Just spray into the lid and use fine brush. The
next job is glazing. I use 'Clearfix' to glue in the acrylic transparent
plastic. Clearfix is also used to glaze the windows in the duckouts. The
edges of the windows are wetted with Clearfix, and with a bit more of
the material, you can 'weave' the window. Once the duckout windows are
dry, you have to touch up the paint around the frames. After letting the
Clearfix glue dry thoroughly, the holes for handles and grab handles
have to be re-drilled through the clear plastic. The handles and grab
handles can then be glued in place: a fiddly job to say the least.
Seats are then glued in followed by the
passengers (to taste). First class seats are made using OO gauge coach
seats cut down in height.
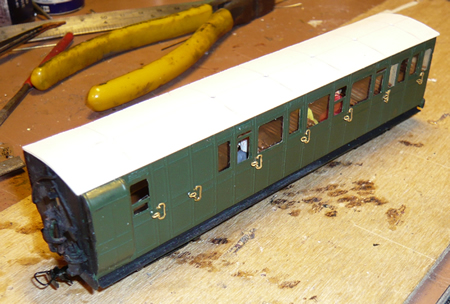
We are then ready to fit the roof. I find
the Langley brass roof useless as I do not have a metal roller. In any
case I prefer to keep the weight low down. I use thin Plasticrd which I
keep rolled up. This is leaves the material with the right curve. After
cutting to size, I drill 1.6mm holes in the correct places to take the
roof lamps. I glue one side with 5 minute epoxy. Once the glue has gone
off, I introduce glue into the other side and bring the roof down by
wrapping the coach with half a mile of 3 amp fuse wire (I buy this from
Maplins in large reels and use huge quantities of the stuff).
The roof fittings are glued into place and
a thin wire (not included in kit) is added to represent the gas feed.
The roof is then painted grey with Humbrol matt. When nearly dry,
weather to taste.
The Langley bogies are then assembled and
painted, couplings fitted and attached to the bolsters which are glued
into place under the coach.
The characteristic door vents are a bit of
a Langley problem. On one kit, they are etched in and look wrong, on
another the vents are separate and are just as wrong. Finally, on the
last kit there are no vents whatsoever! I think it is far better to make
them in Plasticard to the correct profile and retrofit.
There you have it. To give you some idea of
time, I find I can make two coaches in 1.5 long days, albeit boring
ones.
|
building 3Dperfect coaches |

|