|
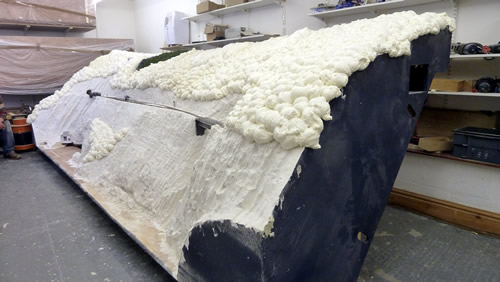
The cliffs
were built using thick insulating foam.
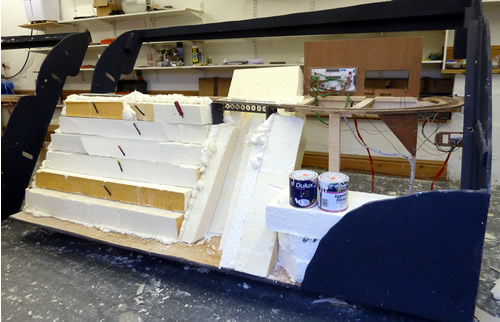
Layers of
foam are glued into place like a layer cake
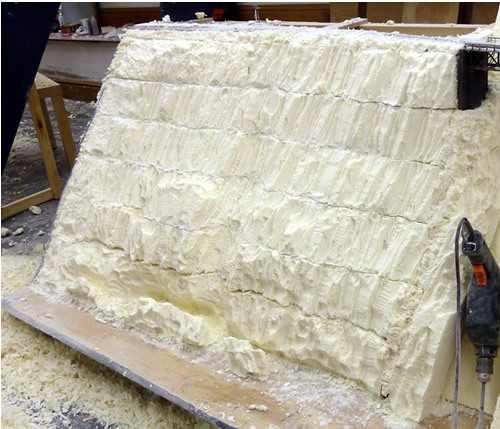
The foam was
then carved using modified spade bits in a drill and the
detail was added using burrs in a Dremel tool.
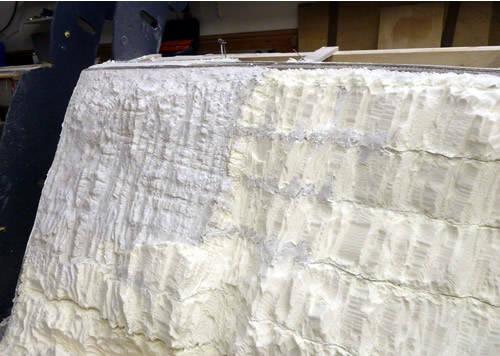
The left hand part has been
detailed carved and finished by brushing on a thin layer of cellulose
plaster
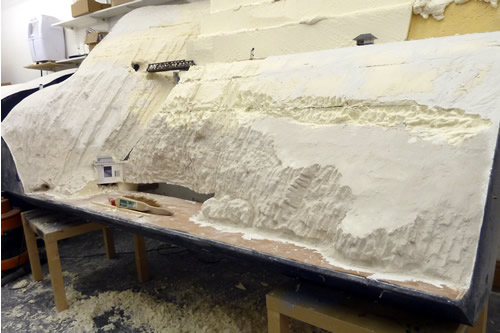
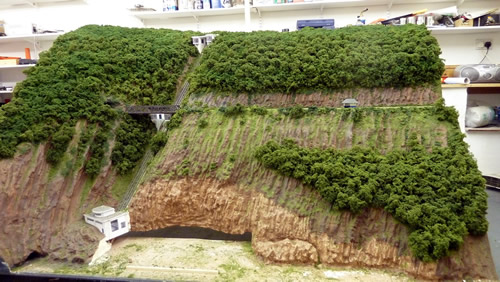
The left hand board is
progressing well. The bottom station of the funicular can be seen.
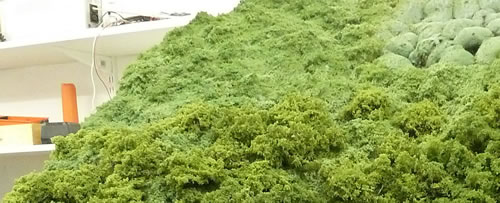
The cliffs have been
completed and the 'forest' started using spray foam.
Борис. Ваш адрес электронной почты не будет принимать от меня письмо.
The meringue method is satisfactory with some
riders. It only works for dense forest but the edge does have to be planted
with real trees. It is less acceptable if the forest is to be viewed from
above as no small clearings would be possible.
Expanding foam is used and great care is needed to deliver a very short
'spurt' (about 1 second) in the right place (about 1.5" apart). If the spurt
is longer, a huge blob will emerge which will engulf its neighbours! Each
brand of foam has differing characteristics so stick with one type (we use
B&Q's own brand). Do the forest all in one go. If you come back to it later,
the new blobs will not fuse properly with the old ones.
Next day, spray the meringues with matt black paint. I then paint a mud
green emulsion over the tops of the meringues.
It is now time for sprinkles. The materials I use do this job very well
indeed. I have to say, other do not, so stick with the programme. The
sprinkles I use are Woodland Scenics coarse turf, medium green. The type of
ground foam they use works perfectly while other makes are more like little
balls. The downside is that the material stains you and everything around
you, so be careful. The stain also fades after a while. This should not be a
problem as we always airbrush the finished job.
I first spray the meringues with 3M Display Mount. The coating needs to be
liberal. Do about one sqaure foot at a time. Sprinkle the area with the
coarse turf until the meringues are covered. Then give a light coat of 3M
Spray Mount.
Display mount (DM) is permanent but dries a bit white. We use it for
substrates and for spraying seafoam to stick sprinkles on. (brown can)
Spray Mount (SM) allows you to move things around and dries clear. (blue
can)
Both can be bought cheaper online, BTW.
It is now time to turn them into trees. This is done with what I call
'fluffy clumping'; my secret weapon.
Tip some coarse turf into a plastic sandwich box and spray with SM. Shake it
around and the turf will begin to clump. Make sure that all the material has
been coated. You should then have lovely soft clumps. Leave dry for about 5
minutes. Now spray the top of the meringues with SM and very carefully fish
out some fluffy clumps and lay them over the meringue. If you squeeze the
clump, it will be ruined. Once placed, you can tease it into a nice tree
shape with a dental pick. Keep the pick moist to prevent it getting sticky.
Once happy with the result, carefully spray the tree with SM. If you spray
too close, the clump will take off and stick to your wall!
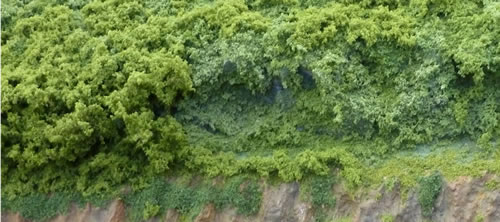
The trees in the forground
have been fitted with fluffy clumps while
those behind have not
If you wish more detailed trees in highly
visible areas, you can add sea moss tree tops. Keep all the small junky bits
of sea moss. Just grab a little bunch and mould it into the correct shape.
Spray black and add sprinkles and stick it down with DM.
Ordinary trees are needed at the edges of the forest. These I make with sea
moss. Spray lightly with matt black and then with display mount and add the
coarse turf. Shake off excess and then spray with cheap hair spray to fix
it. The tree is planted into a hole, being stuck using PVA.
The edge meringues are cut
in half with a hacksaw blade and coarse turf is stuck on the surface. The
ivy is fitted first, followed by fluffy clumping and then the trees are
planted.
Fluffy clumping, BTW, makes wonderful small
bushes, brambles... in fact, it is the scenic wonder material. You can even
stick other leaf scatters on them if you wish.
fluffy
clump brambles and small vegetation. These can be air brushed to desired
colour. You can even attach different sprinkles on them if you wish. The ivy
is Woodland Scenics dark green foliage.
Leave the work for a day and then lightly mist
the whole lot using water with a few drops of detergent added. Then heavily
mist with dilute PVA. I use an old window cleaner spray. May sure your
management never throws empties away.
The following day, the forest can be air brushed using acrylic paints
diluted with thinner, not water.

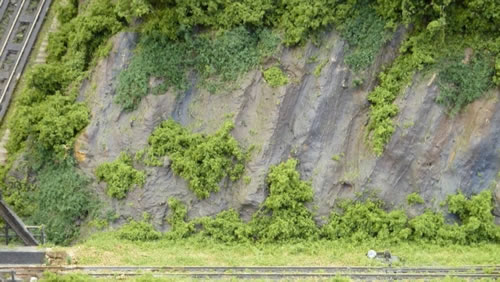
The trees are being covered
in scatter and the rocks are being painted
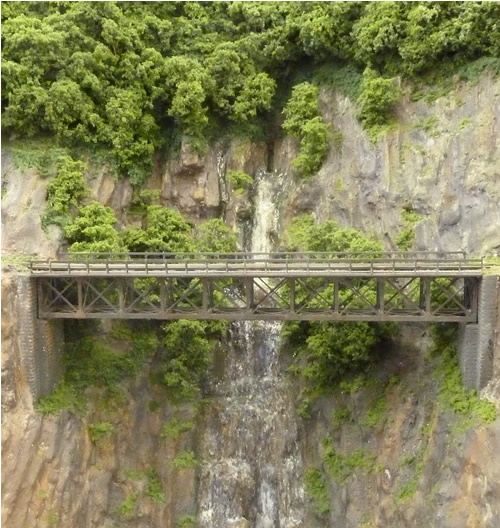
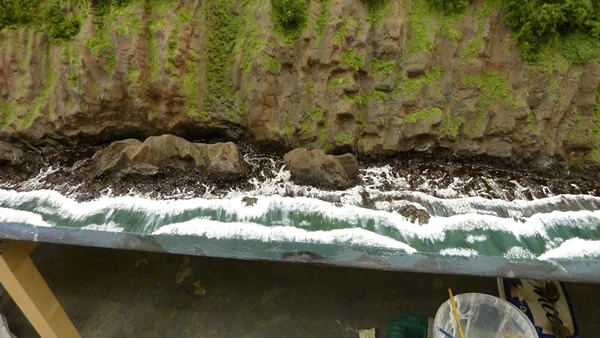
The waterfall is made using
clear bathroom silicone sealant
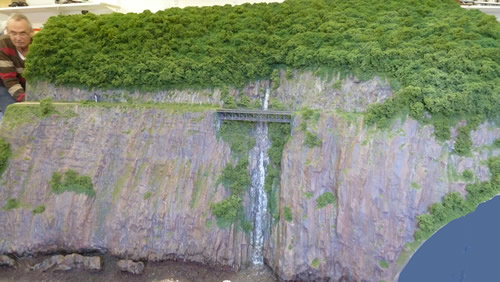
The waterfall board is
complete except the sea.
Here the funicular board is
nearing completion
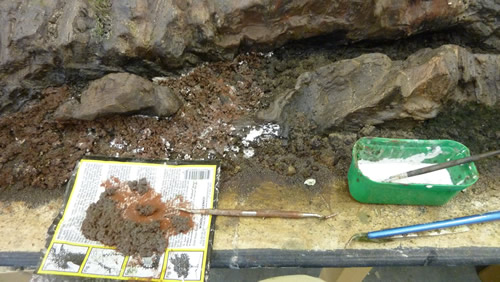
Tallus made from broken up
Polyfilla and laid on the shore set in a coarse ballast. This was fixed in
the usual way with dilute PVA. This was then sprayed with ModelMates 'mud
brown'. There was sea pollution even before the war to the rocks should be
quite dark.
We then have to model the
seaweed. This would be bladder wrack, (Fucus vesiculosus) and Chondrus
crispus. These are a slight red/brown and grow about a foot to 18 ins below
high water as it is more efficient in photosynthesising below water. Above
this, there will be Ulva. This is green and has the shape of small ribbons.
The brown seaweed is made with Woodland Scenic 'coarse turf' which is
dampened and mixed with paint to make the correct colour.
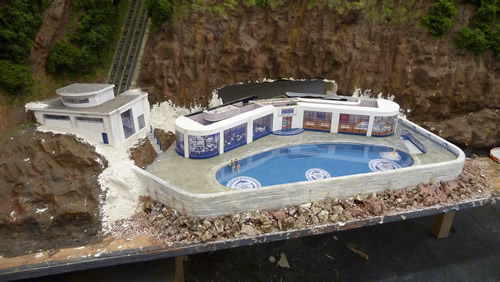
The Lido is being installed
on the board
The complete Lido. We
suffered many problems getting the pool correct and tried 8 times before
succeeding!
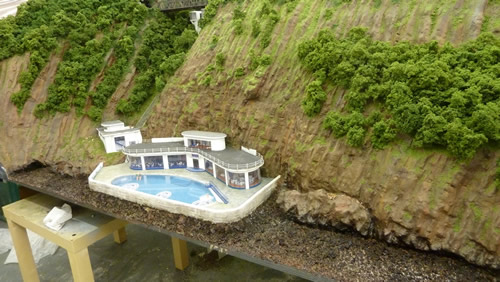
A great deal of time was
taken in modelling the sea shore
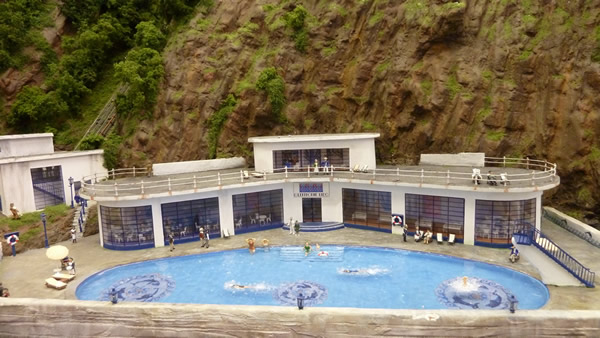
The completed Lido and pool
are now detailed and populated by little people
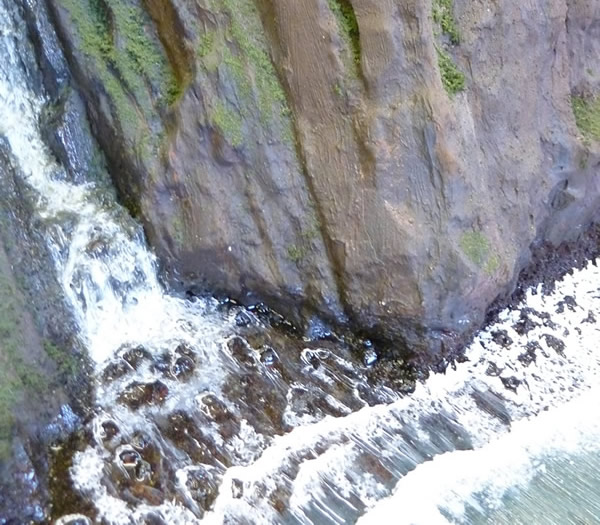
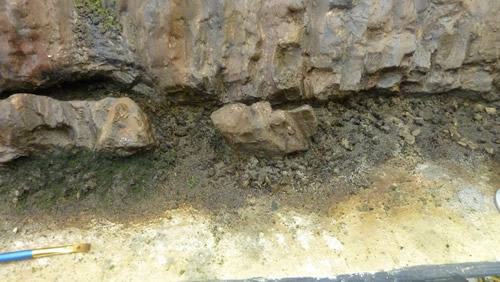
The bottom of the waterfall

|