|
Snow
Snow is one of
those very complex things that requires
careful study before embarking on modelling.
Snow is actually precipitation in the form
of ice crystals. These ice crystals are
hexagonal prisms that form when snow freezes
up. Prisms are formed due to the molecular
structure of water. As these ice crystals
are formed, they come down in one of the
following forms:
-
Snow
crystals -- Individual, single ice
crystals, often with six-fold
symmetrical shapes. These grow directly
from condensing water vapour in the air,
usually around a nucleus of dust or some
other foreign material. Typical sizes
range from microscopic to at most a few
millimetres in diameter.
-
Snowflakes
-- Collections of snow crystals, loosely
bound together into a puff-ball. These
can grow to large sizes (up to about 10
cm across in some cases) when the snow
is especially wet and sticky. A
snowflake consists of up to 100 snow
crystals clumped together.
-
Rime --
Super cooled tiny water droplets
(typically in a fog), that quickly
freeze onto whatever they hit. An
example of this is the small droplets of
rime on large snow crystals.
-
Graupel --
Loose collections of frozen water
droplets, sometimes called "soft hail."
-
Hail --
Large, solid chunks of ice.
Powder
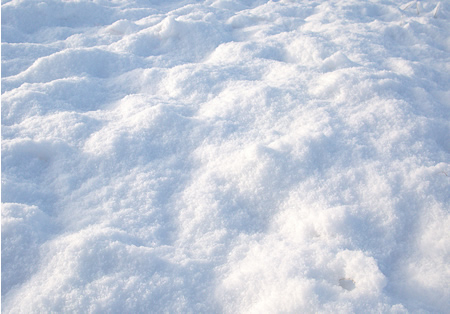
Powder is
freshly fallen, untouched, soft snow.
Powder, tiny flakes and crystals form the
smooth and soft surface in mountains.
Most snowboarders and skiers find powder the
ultimate surface especially since it is the
best snow to land on because it does not
hurt as much as hard, compact snow.
Crud
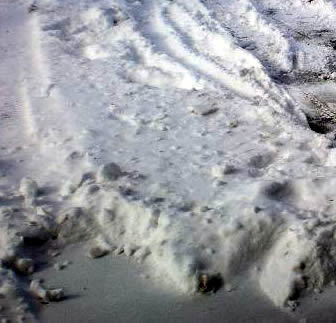
Crud is the
next phase from powder. As more and more
people and traffic move through the powder,
the snow gets piled at certain places and
packed down at others. Fresh powder snow
soon becomes "tracked out" and results in an
uneven surface with lumps of soft
powder-like snow and slippery patches
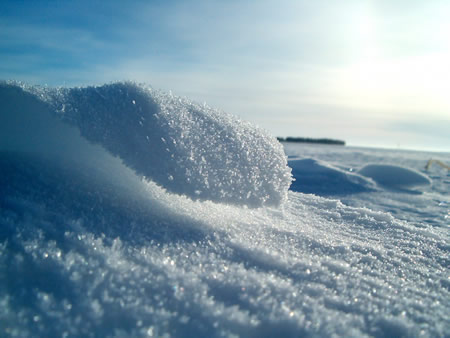
Crust
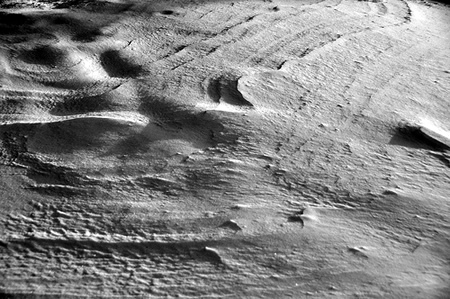
windblown
snow crust
As the name
implies, this type of snow has a harder
crust on top of softer powder snow. Crust is
formed when the sun's rays and the wind melt
the top layer of powder, and then the cold
air temperature makes it freeze into solid
again.
Slush
When the air
temperature becomes warmer than the freezing
point, the snow starts to melt and its water
content becomes very high. With this, the
delicate snow crystals change into large
grains of ice and slush is formed. Slush is
basically snow that is starting to melt and
thus becomes further wet.
Ice
This type of
snow is the exact opposite of powder - hard
and slippery. Actually, you'll never find
real ice mountain and hill slopes. What you
do encounter is snow that has been melted
and frozen again for a number of times. This
forms a solid surface of icy compact snow
that is often referred to as "ice".
modelling snow
When modelling
snow, it is essential to decide on what
conditions you are trying for. Is it
windblown powder snow which has drifted,
conditions where snow still sticks to
vertical surfaces or wetter snow that has
fallen in large flakes? Has the snow begun
to melt or is it still very cold?
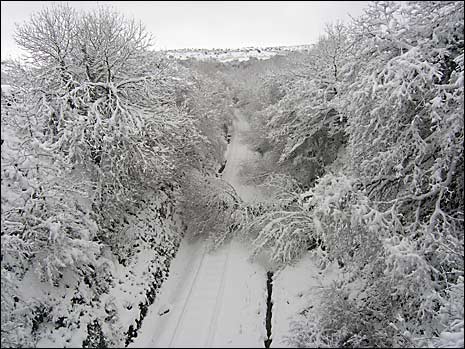
The Bratton
Fleming model aims at reproducing a fall
from the previous night which is beginning
to thaw.
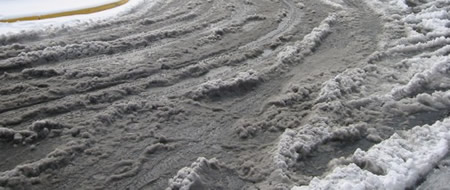
As usual, reference to
photographs is most important. Issues like how snow will
fall from un-insulated roofs and how snow looks like after
being swept or shovelled and walked on.
I find it essential to ensure that
the 'snow' stays where it is intended as some of the
materials used, (fine ground plastic or microballoon) can find itself in
every mechanism you own.
materials
Woodland
Scenics snow.
This comes in large containers and is a very
good colour. The grain size is, however too large, but the
material is good for building up layers. This I do using PVA
painted accurately on to the surfaces where snow is required
and then carefully sprinkling on the material. If the job is
done over a clean sheet of paper, excess can be reused. The
'snowfall' can then be wetted using a mister
with detergent added and the whole lot fixed
by dropping on dilute PVA.
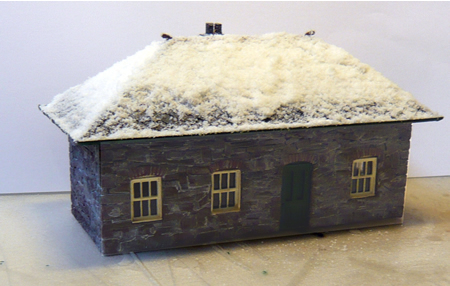
with the hip roof completed,
the first coats of Woodland Scenics 'snow' is added
Microballoon is one of the best 'secret weapons' . This
is 600 micron glass balloons and is used in the
composite aircraft industry to mix with resins to
produce lightweight filler. A good source in the UK is
Europa Aircraft who will sell you 1/2 kilo (that is
a lot) for about £9. A lot cheaper to buy it from here!
This material is then sifted on to the wet Woodland Scenics
snow. Detail can be added at this time using small soft
brushed to push the 'snow' around, mimicking, for instance,
slippage on a pitched roof.
If the
microballoon become completely wetted with
PVA it will dry more like slush ice and is
an excellent way to model where people have
walked through the snow.
Microballon can
also be used for modelling frost with great
effect.
The snow
is then finished off using materials supplied by
Deluxe Materials who supply a variety of different
snow types which includes a very fine glitter which if
used well will perfectly simulate sunlight reflecting on
snow crystals.

the completed snow
application using microballoon. -
click on image to enlarge
Once the
PVA has set, the snow can be fixed using artist's
fixative. I must say however, that the result is
delicate and cannot stand touching. Producing a
realistic snow finish is not quick either. It took over
four hours to treat the station building shown above.
Modelmates supply large aerosol cans of very
realistic snow. This is about as good as it gets for
trees, the direction and force of the spraying
determining the snow finish required. The material does
remain soft, so again, needs very careful handling.
Shake
the can for at least one minute before use (and often
while spraying). The can has to be warm to work
effectively. A ball inside the can should rattle when
the can is shaken. If the ball does not rattle, warm the
can in your hands for about 5 minutes and then shake it
vigorously. Keep doing this until you hear the ball and
the can feels warm. The spray will come out very fast if
the nozzle is fully depressed. As it hardens it will
crack a little, just like real snow. When through
spraying, invert can and spray for about one second to
remove excess snow from nozzle. Should the nozzle become
blocked, remove it, place it in boiling water for a few
minutes and it will clear. Wash hands after use. To
remove from smooth surfaces, first scrape off any areas
of large build-up, then rub with a clean cloth
(furniture polish also helps to remove snow).
The three main methods of application are:-
1) Even Application Of Snow:
Hold the can in an upright position approx. 300mm from
the model. Press the nozzle very, very gently and fine
snow will appear. Move the can across the model (or a
part of the model) in one smooth motion.
2) Very Light Dusting Of Snow:
Hold the can in an upright position with the nozzle very
close to the model, perhaps a tree or shrub. Press the
nozzle very, very gently and fine snow will appear.
Practise first before doing this. If you press gently
enough only a very small amount of snow will be sprayed,
just a light dusting.
3) Dense Application:
Hold the can in an upright position very close to the
model. It important to press the nozzle gently at first,
then gradually apply more pressure until you create the
effect you are after. We make great snow drifts this
way.
Alternately, simply point the nozzle as close or far
from an object as you wish and press light or hard to
achieve the effect you are after.
Never press the nozzle too hard - it comes out really
fast.

|
